本文介绍在 VSCode 中配置和使用插件来高效地解决 LeetCode 问题,并使用 Rust 语言编写和测试代码。
vscode 插件
- LeetCode.vscode-leetcode
- pucelle.run-on-save
- rust-lang.rust-analyzer
项目结构
cargo new vscode-leetcode-rust
1
2
3
4
5
6
7
8
9
10
|
.
├── Cargo.lock
├── Cargo.toml
└── src
├── lib.rs
├── main.rs
└── solutions
├── 1_two_sum.rs
...
|
vscode 全局设置
1
2
3
4
5
6
7
8
| "leetcode.useEndpointTranslation": false,
"leetcode.workspaceFolder": "/Users/<your_name>/projects/vscode-leetcode-cn-rust",
"leetcode.filePath": {
"default": {
"folder": "src/solutions",
"filename": "${id}_${snake_case_name}.${ext}"
}
},
|
用 automod 宏添加新回答到模块
cargo add automod
1
2
3
4
5
6
7
|
const CURRENT: &str = "sdfsdfsd.rs";
pub mod solutions {
automod::dir!("src/solutions");
}
|
触发 rust-analyzer
用 run-on-save 插件,保存回答时更新 lib.rs,触发 rust-analyzer 重新分析项目,开启新回答的代码补全。
vscode 项目配置
1
2
3
4
5
6
7
8
| "runOnSave.commands": [
{
"command": "sh onsave.sh ${fileBasename}",
"runIn": "backend",
"finishStatusMessage": "touched ${workspaceFolderBasename}"
},
]
|
onsave.sh脚本,macOS使用 gnused,linux 使用默认 sed 就好。
通过切换模块是否为pub来触发 rust-analyzer 识别新回答
1
2
3
4
5
6
7
8
9
10
11
12
| #!/bin/bash
FILE=$1
if [[ `grep "$FILE" src/lib.rs | wc -l` -eq 0 ]]; then
gsed -i -E "/CURRENT/c\const CURRENT: &str = \"$FILE\";" src/lib.rs
if [[ `grep '::dir!(pub' src/lib.rs | wc -l` -eq 1 ]]; then
gsed -i "s|::dir!(pub |::dir!(|" src/lib.rs
else
gsed -i "s|::dir!(|::dir!(pub |" src/lib.rs
fi
fi
|
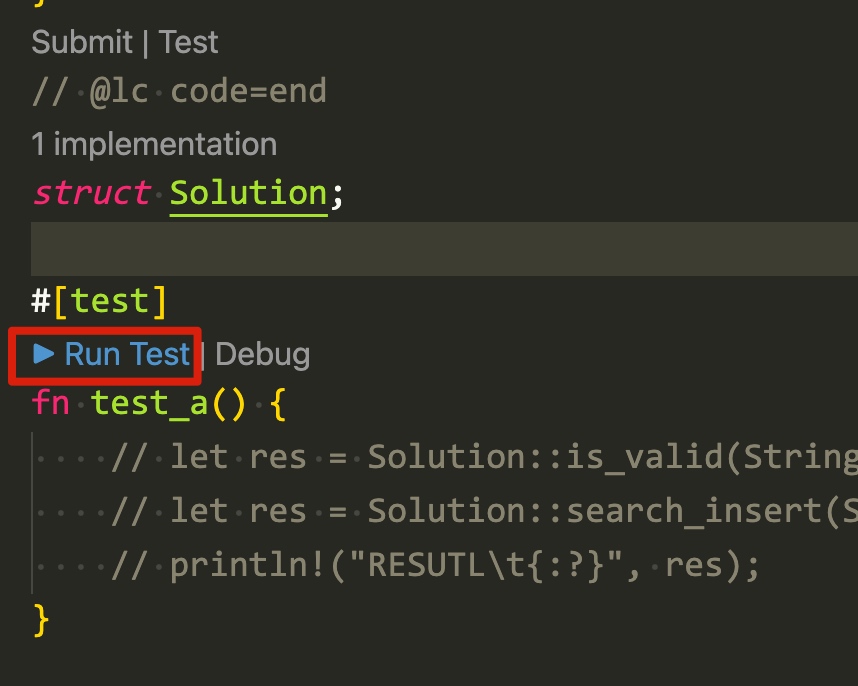
编写本地测试用例
把测试代码写在 "// @lc code=end" 后面,需要定义 Solution 结构体,可能还需要定义参数的结构体。
1
2
3
4
5
6
7
8
| // @lc code=end
struct Solution;
fn test_a() {
// let res = Solution::is_valid(String::from("()[]{}"));
// println!("RESUTL\t{:?}", res);
}
|